Note that this was Bertram's idea, he needed extra cooling for the
turbocharged Audi engine he has fitted to his car
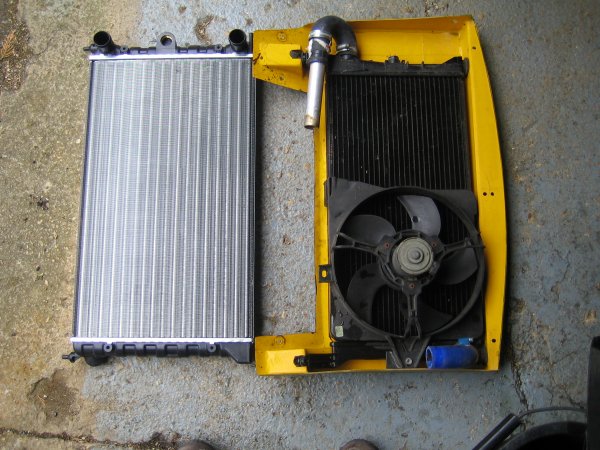 |
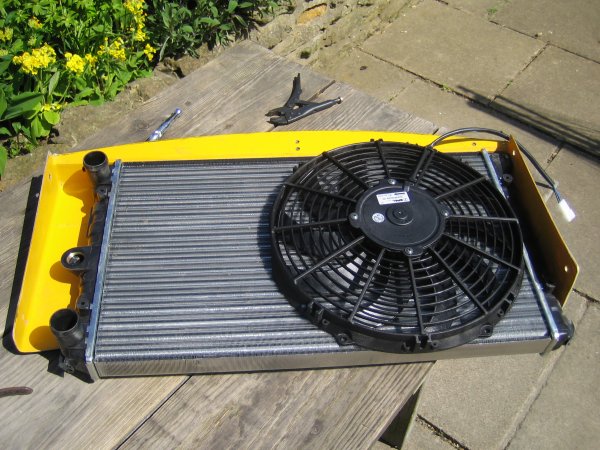
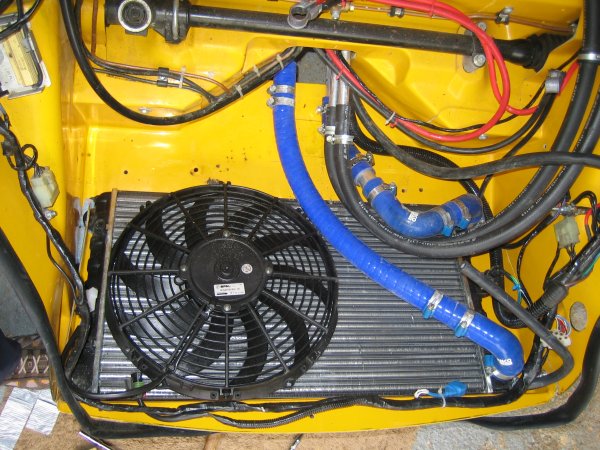
The objective is to fit a larger radiator than the original Metro
unit. With my VVC engine the radiator wasn't quite big enough, and on
track days after few laps the temperature would steadily rise until I
backed off, when it returned to normal. Basically I just needed a bigger
radiator. This picture shows the original radiator and metro fan, with
the new Passat radiator next to it. The new rad has 25% greater area
and is thicker as well. |
|
Parts List
-
Passat radiator.
Described as: for 1.8 petrol 1981-88. Bertram tells me that it a
large version for towing. The matrix size is 525 X 320 X 34.
-
VW Thermo temp switch
- The radiator takes a very common switch from the VAG.
-
1M length of 28mm wire
reinforced flexible hose
-
2 off 32mm to 28mm
reducing elbows. The outlets on the Passat radiator are larger
than the metro.
-
1 28mm 45°
elbow
-
1 28 90° elbow
-
Spal fan. It must be slim line
fan and the Spal is only 52mm thick. With this fan I have more space
around the spare wheel than with the metro fan. I used the Spal part
number VA10-AP10/C-61A. I bought it from Fereday Motors.
Delivered the next day too. I also ordered the 'knitting needles'
fitting kit.
-
12mm X 6mm expanded neoprene tape.
For sealing all the ducts.
|
 |
Before removing the old radiator and its surround, mark where the
housing fits against the ducting. This is so that the bonnet seal and
any wiring attached to the radiator housing will be easy to replace, and
to ensure that the fit of the bonnet isn't changed. |
 |
The whole of the bottom part of the rad housing needs to be removed.
Cut off everything from where the angle changes. The new radiator is
much deeper than the old one, and it will need to sit as low as
possible, so get busy with the jigsaw! Just rip it off. I have also
opened out the main aperture to maximise ait flow to the core.
I used expanded neoprene tape to try and make the housing airtight.
Once air has gone into the nose of the car you want to get all of it
going through the cooling system. |
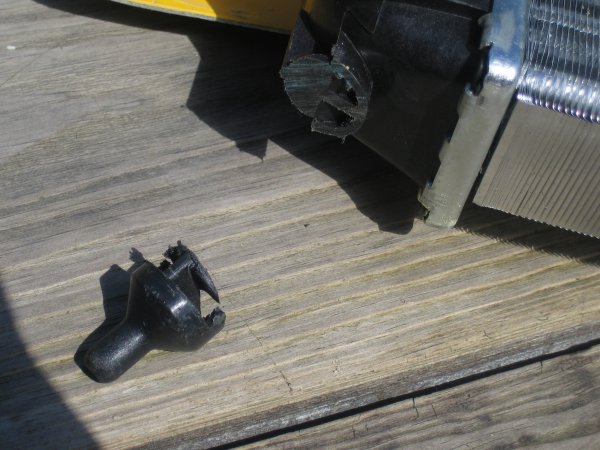 |
Remove these locating pins on either side at the bottom of the
radiator. |
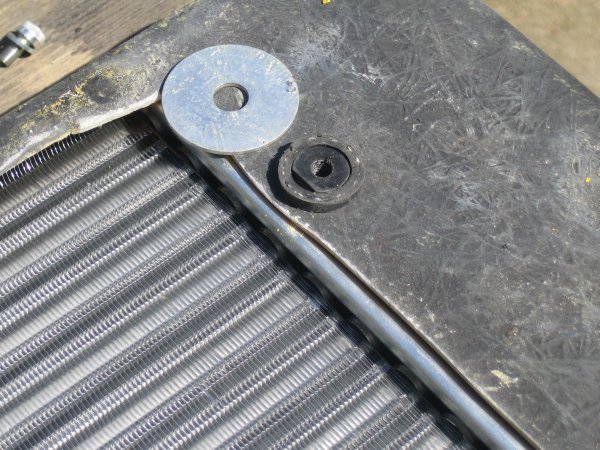 |
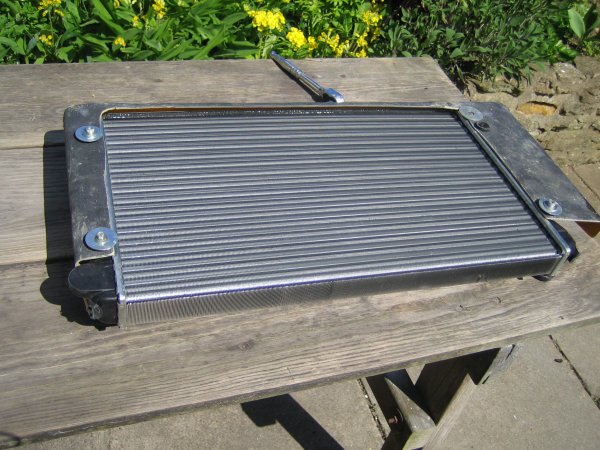
There are 4 plastic lugs which have a hole drilled in them. Tap them
out to 6mm (the existing hole is perfect). I then cut holes in the
housing to take the lugs. I have fixed the radiator by cutting rings out
of a suitable pipe and clamping the radiator to the housing using
'penny' washers and my home made rubber rings. IMPORTANT. Position the
radiator so that it is as high in the housing as it will go, and as far
to the right as possible - giving more room on the pipe side. |
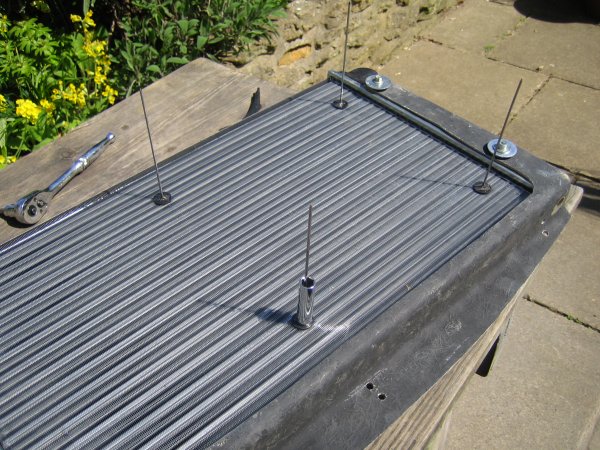 |
I fitted the Spal fan using their 'knitting needles'. The vicious
pointed needles are inserted from the fan side. The head of the fixing
holds the fan into the core, and the needle is secured by a rubber
washer and a spring tine forced down the needle. The needles are sharp
and I threaded them through the vanes, missing the water tubes on the
way, and then slid on the rubber washers, and spring times. The socket
was used to push the spring clip with as it needed some force. When
the fan was fitted, I cut off the excess from the needles, and put some
heatshrink on them to cover the sharp cut end. |
 |
The fan needs to be fitted as far to the right as possible. There
are flats on the sides, so just but it up against the end tank. |
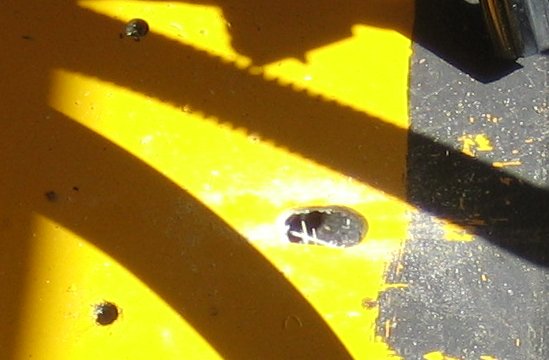 |
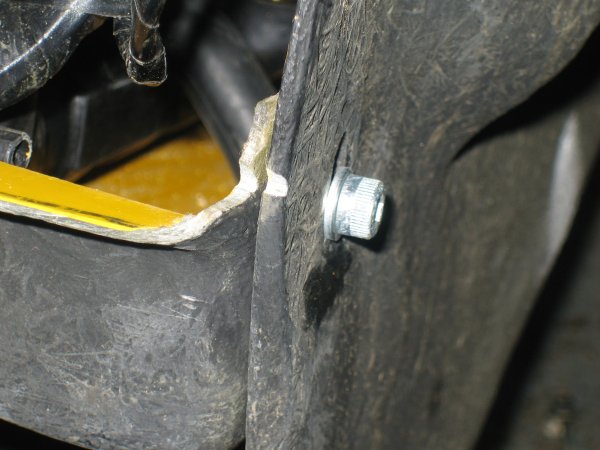
Because of the extreme depth of the new radiator, two small holes
are needed to take the bottom corner of each side tank. This will enable
the radiator to sit lower, and help seal the gap at the bottom of the
radiator. The corners of the tank only just protrude below the ducting. |
 |
I also had to cut back the two radiator, and two heater pipes at the
front of the tunnel. I drew pencil lines on the ducting, so that I knew
where the aluminium ends were, as I fitted the rubber hoses. I can't
believe how long it took me to work out the hose runs. But this
arrangement doesn't strain anything, None of the clips are rubbing on
any of the hoses |
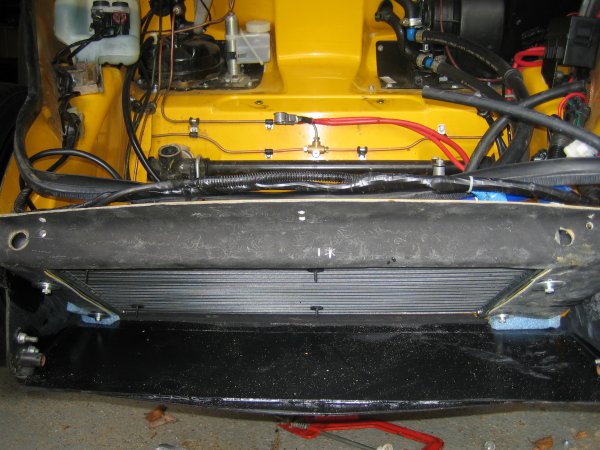 |
Here's the view from the front. You can see the ends of the fan
mounting needles covered in heatshrink. There is an additional strip of
neoprene under the bottom edge of the radiator, and the blue bits are
some closed cell foam I have used for sealing. |
 |
Here's the battery box in situ. I have cut a lot of it away to make
way for the hose runs. All the edges are well rounded. Silicone hose is
very poor in resisting cuts. There's now a larger gap between the
spare wheel and the fan. |
Well it all works OK. I won't know about the heat capacity of the system
until I do a track day. But one major benefit is that the electric fan cycles
properly, since the fan switch is now on the inlet side of the radiator. The
Metro fan switch terminals plugged straight into the VW switch. The only extra
job I had was to move the horn across the right side of the car, since it was
now too crowded where I had fitted it originally.